
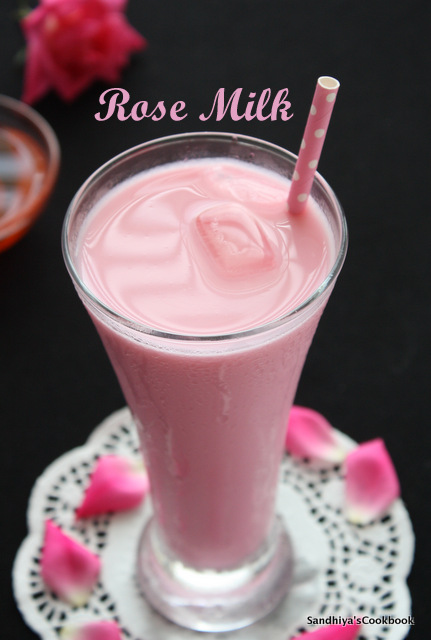
Rose Milk, a simple, rose flavored summer drink and it's quite popular in south Tamilnadu during summer days. It's one of my favorite drinks from my childhood days.
In my school days, for every summer holiday, we went to my grandma's place at sankaran kovil. Most of my cousins were also there for their summer break. Eating and playing together would be so fun with all cousins in those days.
And there was a bakery nearby at my grandma's house, where this rose milk was available around 11PM, everyday. Most of the day, we went there and brought this rose milk in the thukku(small stainless vessel)headed to home and had it together. Such a nice memory to indulge in !!!
Related: How to make Nannari Lemon SarbathNowadays, the rose syrup is readily available in the market, all you need to do is pour the syrup into some chilled milk & stir it well. Tada, rose milk is ready.
But here in the recipe, I have prepared the rose syrup at home and it turned out so good and tastes equally good as the store bought one. Since the rose syrup is home made , you can really control the flavor and sweetness as per your liking.
Now let's check out the recipe for rose milk.

Rose Milk
Preparation Time : 5 mins | Cooking Time : 10 mins | Serves : 1
Recipe Category: Summer Drinks | Recipe Cuisine: Indian
Recipe Category: Summer Drinks | Recipe Cuisine: Indian
Ingredients
Sugar - 1/2 cup
Water - 1/2 cup
Rose Essence - 1/2 tsp
Pink Food Color - few drops
Milk - 1 cup(boiled & chilled)
Ice cubes - few
Sugar - 1/2 cup
Water - 1/2 cup
Rose Essence - 1/2 tsp
Pink Food Color - few drops
Milk - 1 cup(boiled & chilled)
Ice cubes - few

First let's make sugar syrup, take the sugar in a sauce water and add the water into it. Turn the heat on and bring to boil.Once the sugar dissolves completely, switch off the flame and let it cool completely.
Then add rose essence and the food color, mix it well. That's it, Rose milk syrup is ready.
Now take all other ingredients ready to make the rose milk. Pour 2 tbsp of rose syrup into the glass.
Add 1 cup of milk and mix it well. Add few ices and it's ready to serve.
Serve chilled for best taste. For other summer recipes, check out here

Notes:
- The rose syrup is enough to make 4 servings. Here in the recipe i have made 1 serving only.
- Use full fat milk for best taste.
- The rose syrup can be stored in refrigerator for months.


