
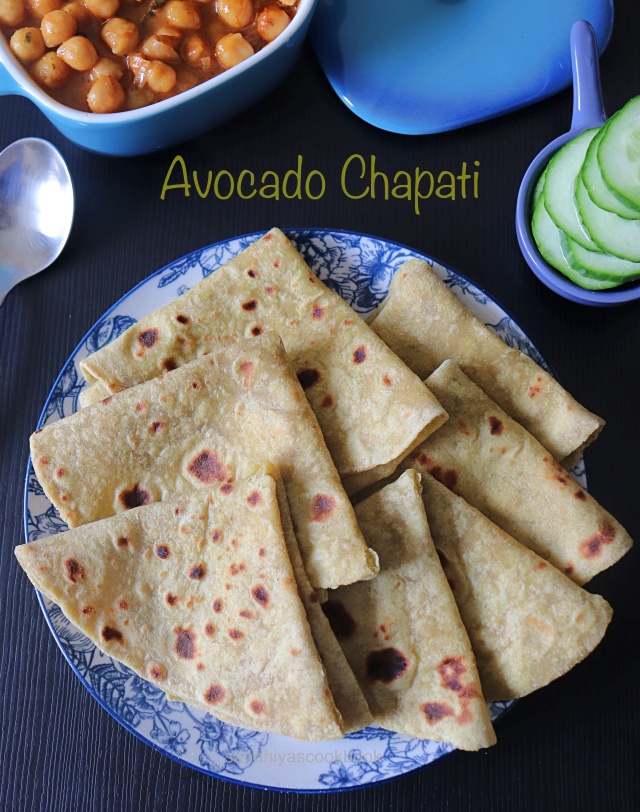
Avocado Chapati / Avocado Roti, a delicious, healthy and soft roti made from wheat flour and avocado. Making of this roti is as simple as the regular roti however it's so healthy, super soft and pairs great with any Indian curries or it can be used as wraps.
Continue Reading »
If you have too many ripened avocado at the same time and bored of eating as it as or as guacamole , then i highly recommend giving a try on these yummy roti.


Related : How to make Avocado Quesadilla with leftover Chapati
Avocados are a great source of healthy fat and eating them makes you feel full for a longer time. Including them regularly in the diets gives a lot of health benefits according to science. So i have been including avocado in our diets frequently in the forms of salad, smoothies and rotis.
Before moving on to the recipe, let's check out FAQs.
Does the colour of the avocado roti change after cooking?
No ! So far, i have kept this roti at room temperature for about 6 hours and it doesn't change its color.
Does the dough change its color when you keep it for a longer time?
Yes ! The dough color starts to change after around 20 mins. So i highly recommend to make this dough when you're ready to make roti. However, after cooking, it won't be in dark brown color.

Can i add any other spices to it ?
Yes, of course. You can add chili powder as per your spice level and some garam masala for the flavor. Or you can squeeze a little bit of sriracha sauce while making dough.
If you add more spices, then you don't even need side dish, a simple raita /yogurt would be enough
Ok, now let move on to the recipe.

Avocado Chapati | Soft Avocado Roti
Preparation Time : 10 mins | Cooking Time : 20 mins | Serves : 12
Recipe Category: Curry | Recipe Cuisine: Indian
Recipe Category: Curry | Recipe Cuisine: Indian
Ingredients
Wheat flour/Atta - 2 cups
Avocado - 1
Lemon Juice - 1/2 tsp
Salt - to taste
Water - as needed
Avocado - 1
Lemon Juice - 1/2 tsp
Salt - to taste
Water - as needed
Oil - for cooking the roti

Procedure
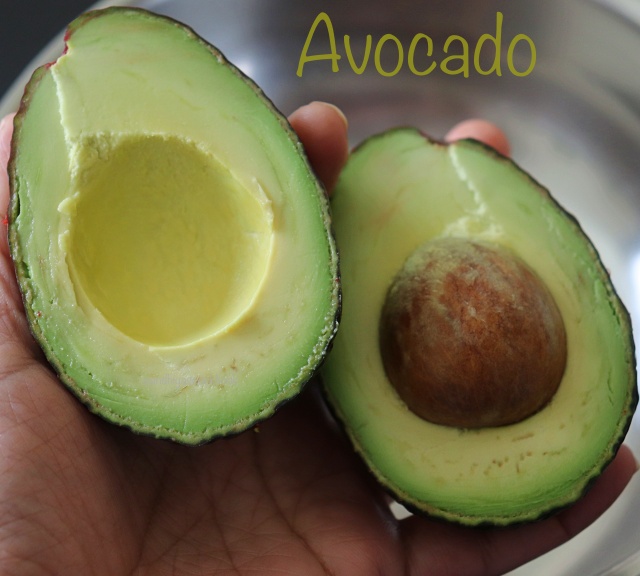
First, take an avocado , cut into half, remove the pit and scoop out the flesh into a bowl.

Mash the avocado well with masher/fork, add the lemon juice and salt.

Mix it all well together. Then add the wheat flour and mix it with the avocado mixture.

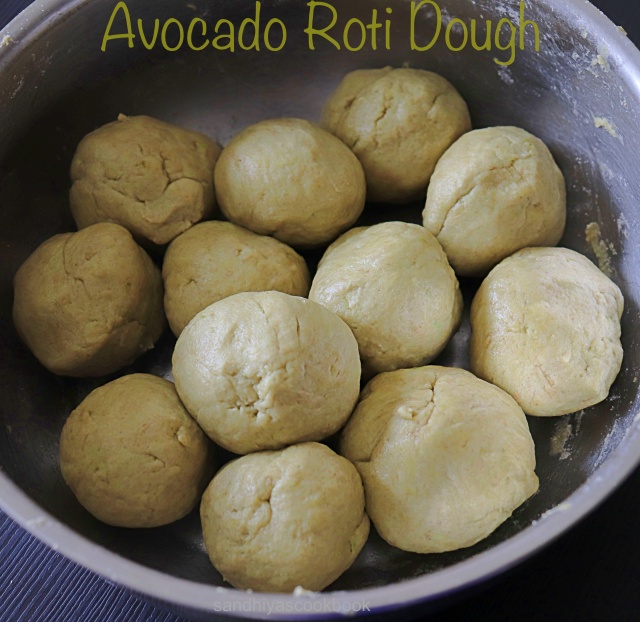
Next add the needed water and make a soft pliable dough. Divide the dough into golf sized ball.

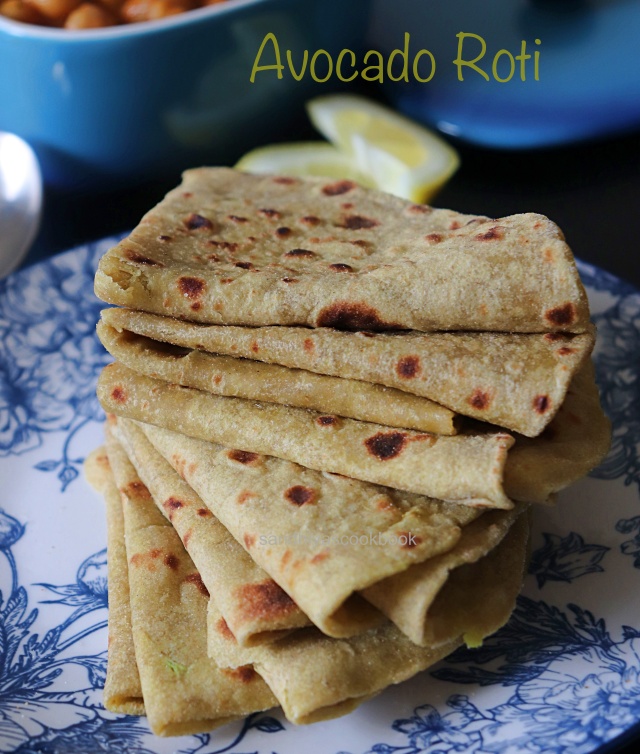
Roll into thin disc with rolling pin(if needed using flour for dusting while rolling). Heat the pan, grease it with little oil and then add the rolled dough, cook it on both till brown spots appear.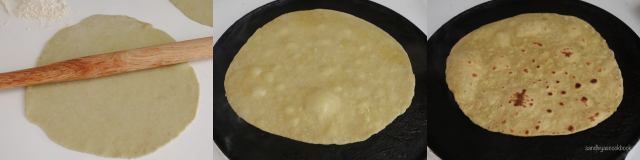

Tada, healthy and soft avocado roti is ready.
Related : How to make Rumali Roti

Notes:
- Dough colour tends to change after a while, so don't rest the dough for more than 15 mins.
- The proportion of wheat flour to avocado is purely up to your preference. You can add more or less of avocado for the given quantity.
- Instead of oil, butter or ghee can also be used for cooking the roti.


